
How to Brush a Dog's Teeth When They Hate It
6 min read
How to Brush a Dog's Teeth When They Hate It
Brushing a dog's teeth when they hate it comes down to one principle: go so slowly that your dog never feels trapped or forced. You break the process into tiny steps — toothpaste on a finger, then a brush near the mouth, then brief contact — and reward every micro-progress. Most dogs can learn to tolerate (even enjoy) tooth brushing within two to three weeks of short daily sessions, even if they currently run at the sight of a toothbrush.
Here's how to get there, step by step.
Why does my dog hate having their teeth brushed?
Most dogs hate tooth brushing because it feels unnatural and intrusive — a hard object is being pushed around inside their mouth by someone they love, and nothing about that says "good thing" to a dog who hasn't been gradually introduced to it. It's not stubbornness. It's a perfectly normal reaction to something unfamiliar touching a sensitive area.
Common reasons dogs resist:
- They were never desensitized. Mouth handling needs to be taught, ideally from puppyhood, but adult dogs can learn too.
- Past bad experiences. If someone previously forced a brush in, the dog remembers.
- Wrong equipment. Human toothpaste tastes terrible to dogs (and can be toxic). A brush that's too big or too hard feels unpleasant.
- The session is too long. Even 30 seconds feels like forever to a stressed dog. Short and positive beats long and forceful every time.
The fix is always the same: slow down, make it rewarding, and never force it.
What do I need before I start?
You only need a few things, and the right choices make a big difference:
- Dog-specific toothpaste. This is non-negotiable. Human toothpaste contains fluoride and xylitol, which are toxic to dogs. Dog toothpaste comes in flavors like poultry, beef, or peanut butter and is designed to be swallowed — no rinsing needed.
- A soft-bristled brush sized for your dog. Options include finger brushes (silicone sleeves that slip over your finger), small-headed dog toothbrushes, or even a soft child's toothbrush for small dogs. Finger brushes are often the easiest starting point for resistant dogs.
- High-value treats. Small, soft, smelly treats your dog loves — think tiny pieces of chicken or cheese. You'll reward after every step.
- Patience. This is a multi-week project in short daily sessions, not a one-time event.
How do I desensitize my dog to tooth brushing?
Desensitization means exposing your dog to each tiny piece of the process in a way that feels safe and rewarding, so they build a positive association before you ever try to brush. The goal is for your dog to choose to participate, not to endure it.
Here's a week-by-week framework. Move faster or slower depending on your dog's comfort — if they pull away or seem stressed, go back a step.
Week 1: Make the mouth a happy place
- Touch around the muzzle. Gently stroke the sides of your dog's muzzle for a few seconds, then treat. Repeat a few times per session. Keep sessions to 2–3 minutes.
- Lift the lips. Gently lift one side of your dog's lip for 1–2 seconds, expose a few teeth, release, treat. Repeat on both sides.
- Touch the teeth and gums. Rub a clean finger along the outside of the teeth and gums for 2–3 seconds, then treat. This gets your dog used to the sensation of something moving along their teeth.
By the end of week 1, your dog should be relaxed when you handle their mouth. If not, stay here longer.
Week 2: Introduce the toothpaste
- Let them taste it. Put a dab of dog toothpaste on your finger and let your dog lick it off. Most dogs love the flavor. Treat and praise.
- Rub it on the teeth. With toothpaste on your finger, gently rub it along the outer surfaces of a few teeth — just a few seconds. Treat.
- Gradually cover more teeth. Over several days, work your finger along more of the outer tooth surfaces. You're still not using a brush yet — just your finger.
Week 3: Introduce the brush
- Let them investigate. Let your dog sniff and lick the brush (with a little toothpaste on it). Treat.
- Brush one tooth. Gently touch the brush to a single tooth for 1–2 seconds. Treat immediately. End the session.
- Add a few more teeth each day. Gradually increase the number of teeth you brush, always keeping sessions short and always rewarding. You only need to brush the outer surfaces — the tongue keeps the inner surfaces fairly clean on its own.
Week 4 and beyond: Build to a full session
By now your dog should accept brushing of all outer tooth surfaces. Aim for 30–60 seconds of brushing covering the upper and lower teeth on both sides. A full two-minute session is great if your dog tolerates it, but even 30 seconds daily makes a real difference.
What's the right brushing technique?
Once your dog accepts the brush:
- Angle the brush at 45 degrees to the gumline. This is where plaque builds up and where it matters most.
- Use gentle circular motions — not hard scrubbing. You're disrupting plaque, not scouring enamel.
- Focus on the outer surfaces of the upper and lower teeth. The cheek side is where tartar accumulates fastest.
- Don't worry about perfection. Brushing some teeth well is better than attempting all teeth badly while your dog struggles.
You don't need to rinse — dog toothpaste is meant to be swallowed.
What mistakes should I avoid?
- Forcing it. If you hold your dog down and force the brush in, you'll make the fear worse — possibly permanently. Every session should end on a positive note, even if you only touched one tooth.
- Using human toothpaste. It contains fluoride and sometimes xylitol, both toxic to dogs. Always use enzymatic dog toothpaste.
- Sessions that are too long. Two minutes of stress undoes a week of progress. Keep it short — under a minute is fine, especially early on.
- Skipping days. Consistency matters more than duration. Thirty seconds every day beats five minutes once a week. Plaque starts hardening into tartar within 24–36 hours.
- Brushing before your dog is ready. If your dog won't let you touch their mouth, don't jump to the brush. Go back to finger work and treats.
What if my dog absolutely won't let me brush?
Some dogs — particularly those with a history of mouth trauma, severe anxiety, or rescues who weren't handled early — may never fully accept brushing despite your best efforts. That's okay. You still have options:
- Dental wipes. Specially textured wipes with enzymatic cleaners can be rubbed along the teeth. They're less effective than brushing but far better than nothing.
- VOHC-approved dental chews. The Veterinary Oral Health Council (VOHC) tests and certifies products that genuinely reduce plaque and tartar. Look for the VOHC seal — not all "dental" products actually work.
- Water additives and oral gels. These can help reduce bacteria in the mouth but are a supplement, not a replacement for mechanical cleaning.
- Finger-only application. Even just rubbing dog toothpaste along the teeth with your finger provides some enzymatic benefit and helps maintain the mouth-handling habit.
- Professional dental cleanings. Your vet can perform a thorough cleaning under anesthesia. This is the gold standard for dogs who won't tolerate home care — it's also the only way to clean below the gumline, where the most serious disease hides.
The best approach is usually a combination: whatever home care your dog tolerates plus regular professional cleanings as recommended by your vet.
How long does it take to get a dog used to tooth brushing?
Most dogs show significant improvement within 2–3 weeks of consistent, short daily sessions. Highly reactive or anxious dogs may take 4–6 weeks or longer. The timeline depends on your dog's temperament, their history with mouth handling, and how consistently you practice.
The key metric isn't time — it's your dog's body language. If they're relaxed, licking the toothpaste, and staying in position, you're on track. If they're lip-licking, yawning, pulling away, or growling, slow down and go back a step.
When to call your vet
Tooth brushing shouldn't cause bleeding, pain, or distress. Contact your vet if:
- Your dog's gums bleed during or after brushing — this can indicate gum disease.
- Your dog has visibly broken or loose teeth — don't brush over damaged teeth.
- Your dog shows signs of mouth pain — pawing at the mouth, dropping food, reluctance to eat, or bad breath that's suddenly worse.
- Your dog growls or snaps when you touch their mouth — work with a positive-reinforcement trainer or your vet on a plan, and don't force the issue.
- You notice red, swollen, or receding gums — these are signs of periodontal disease that needs professional treatment.
Your vet can also recommend specific products and demonstrate brushing technique at your dog's next checkup.
This article is educational and isn't a substitute for veterinary advice. If you're worried about your dog, call your vet.
Gear Kerri recommends
A few things that make this easier. As an Amazon Associate, Floyd's Love earns from qualifying purchases — at no extra cost to you.
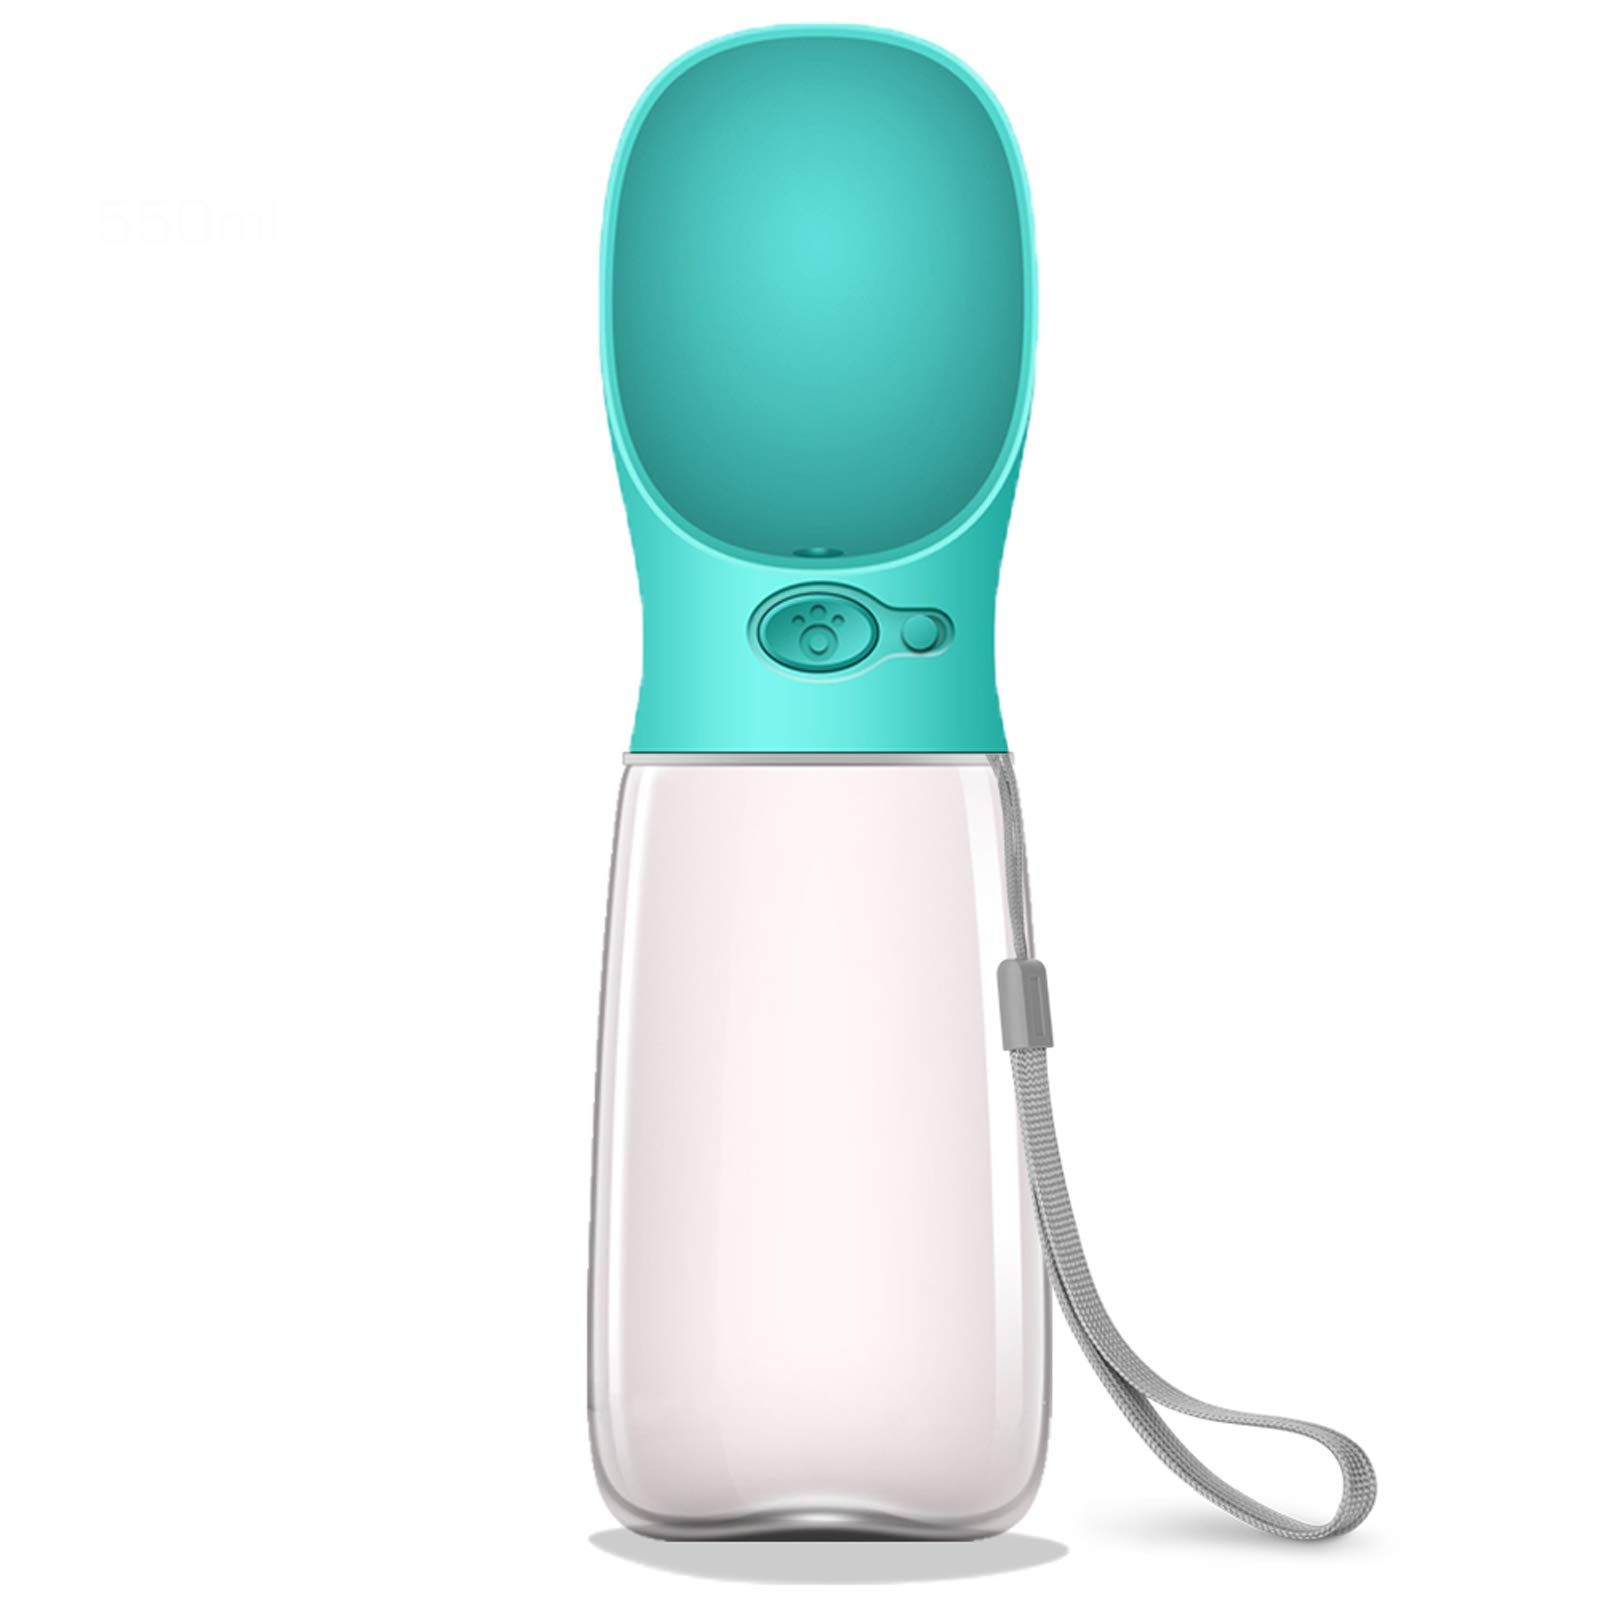
MalsiPree Leak Proof Portable Dog Water Bottle
A leak-proof, one-handed water dispenser, rated highly in [Best Dog Water Bottles of 2026](https://www.treelinereview.com/gearreviews/best-dog-water-bottles), makes it easy to keep your dog hydrated during practice drives and long journeys.
Shop this
JASGOOD Slow Feeder Dog Bowl
Helps prevent rapid eating, which is a significant risk factor for bloat in deep-chested dogs.
Shop thisMagnetic List of Toxic & Safe Plants and Foods for Pets
Keep the pet poison hotline numbers and a list of common culprits like xylitol and grapes visible on your fridge for the instant reference this guide recommends.
Shop this
My Dog is Home Alone Pet Alert Emergency ICE ID Card
Ensures your vet and emergency contact information are always in your wallet so you can call for help immediately during a crisis.
Shop thisHertzko Self-Cleaning Slicker Brush
An effective tool for daily brushing to prevent mats and distribute healthy oils across your dog's coat.
Shop this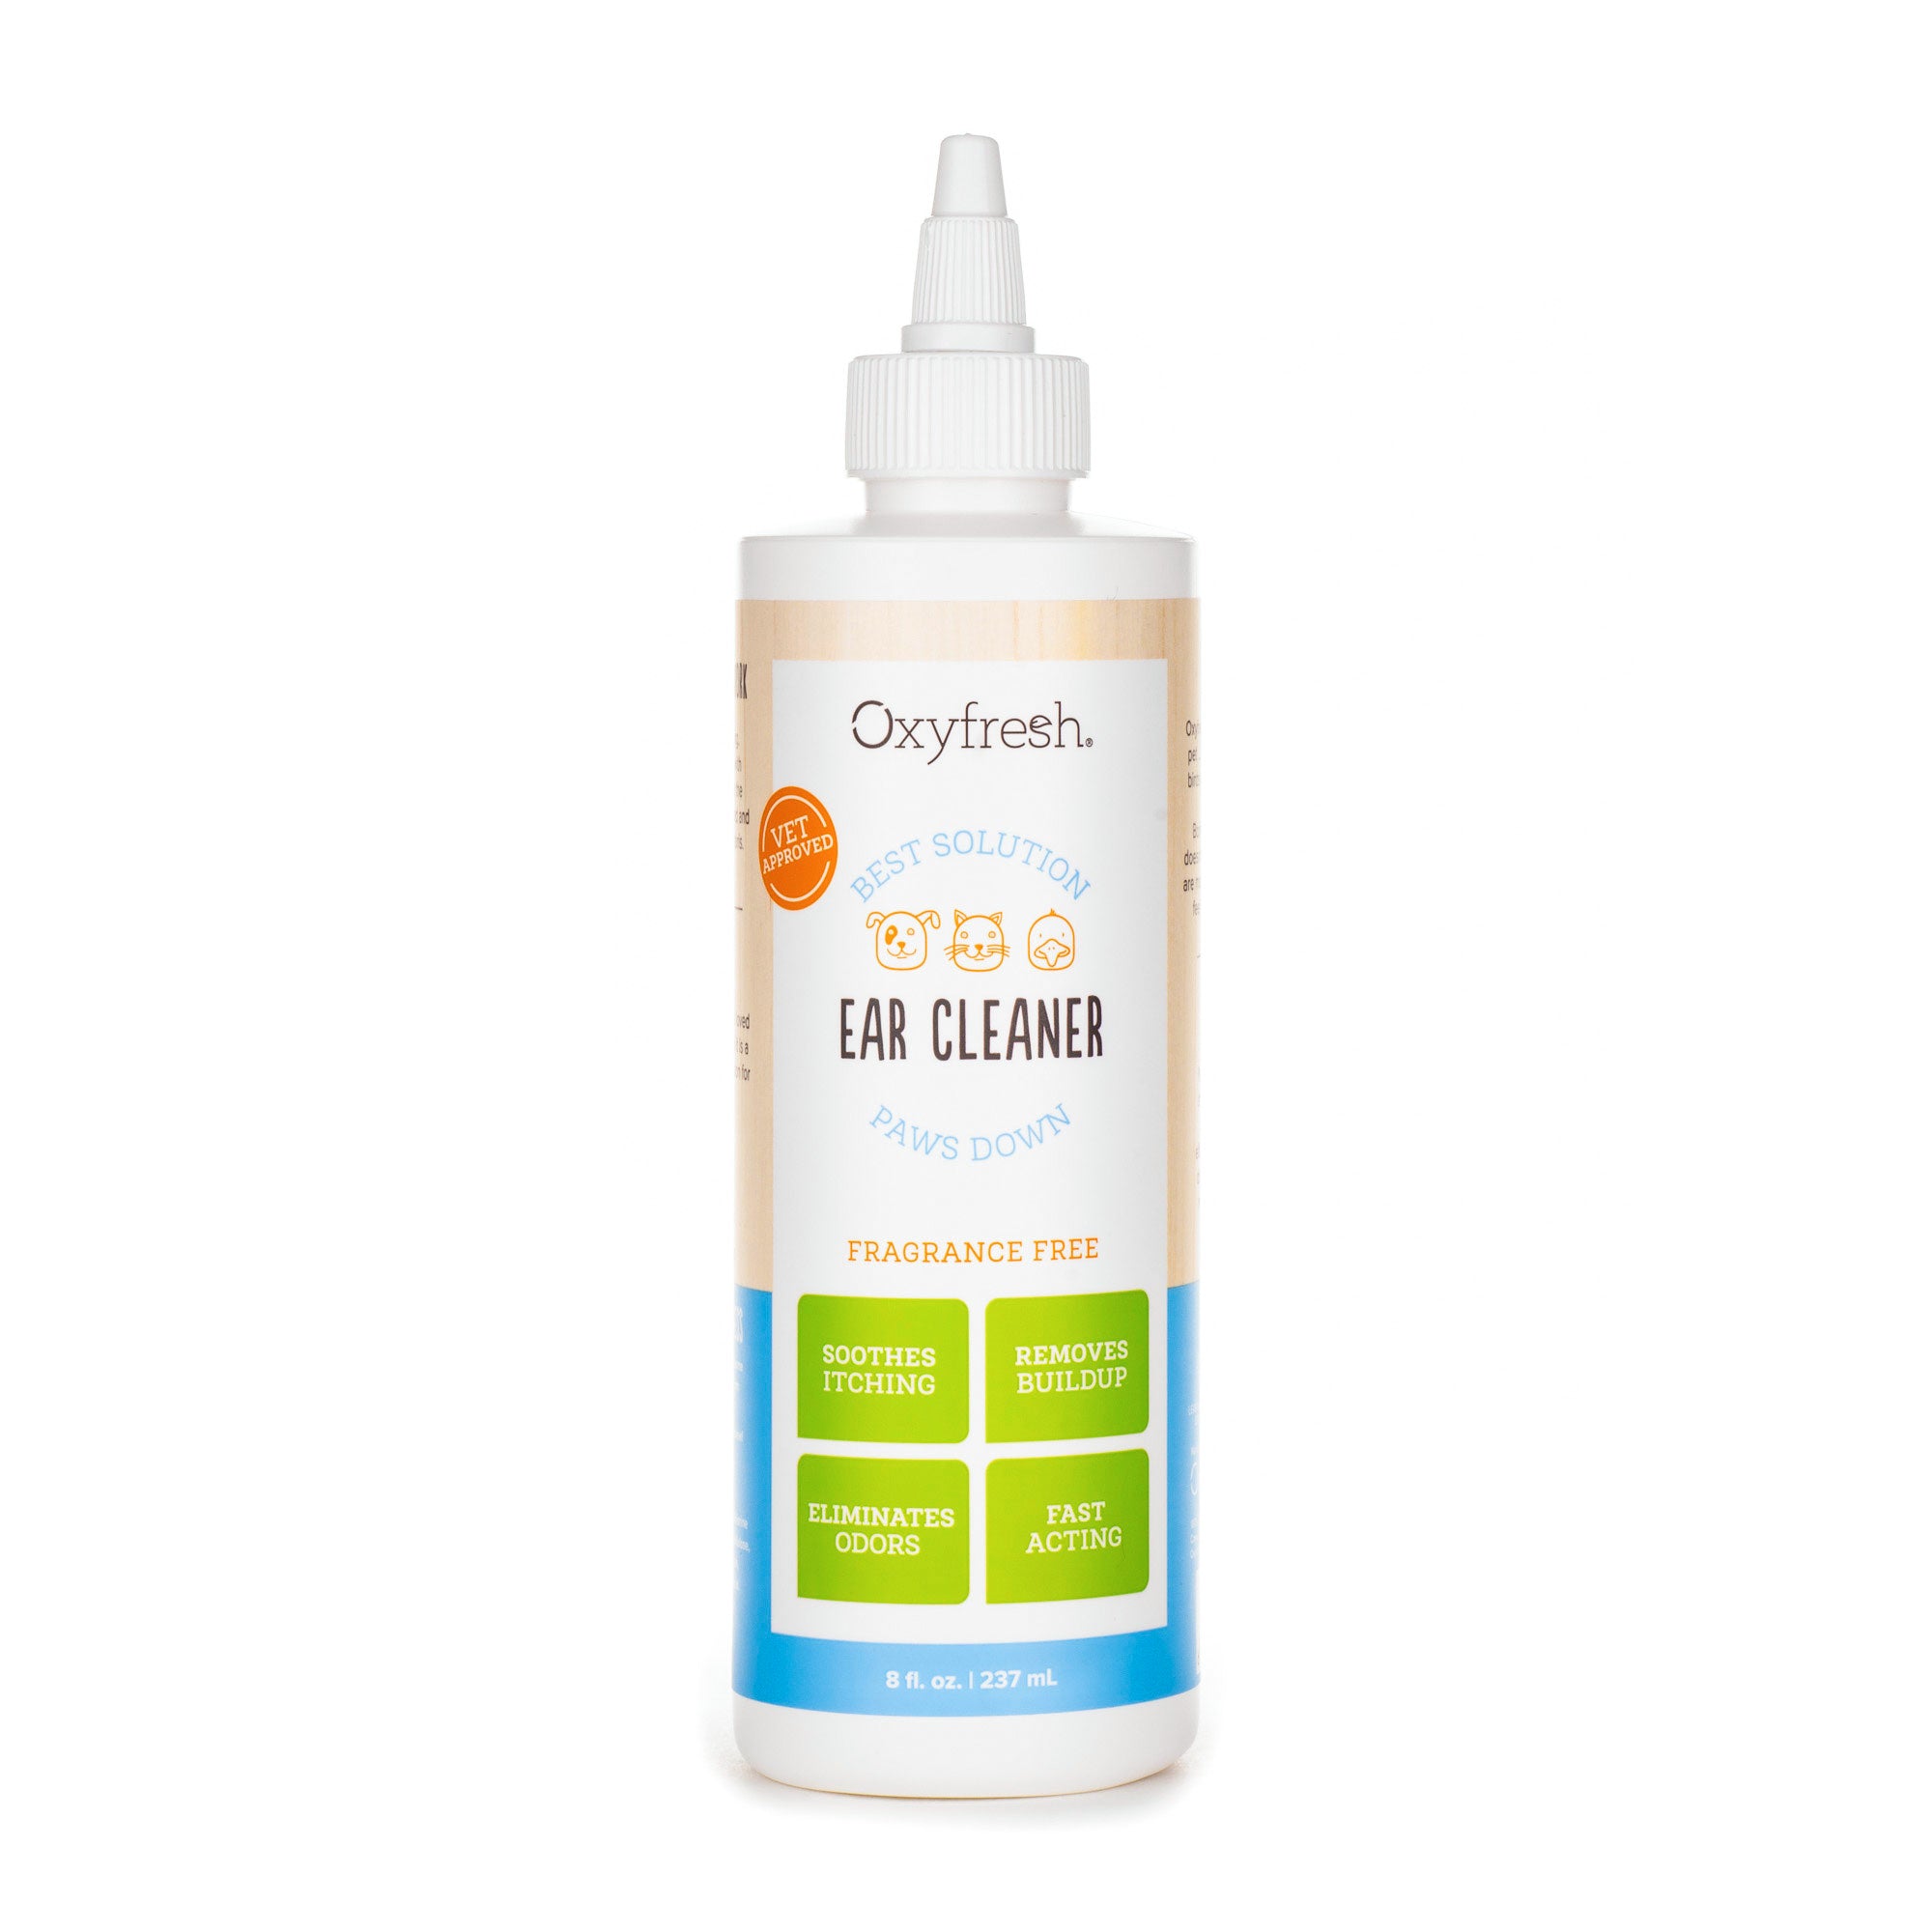
Oxyfresh Advanced Ear Cleanser for Dogs & Cats
A gentle, vet-approved ear cleaner that helps remove wax and debris without the use of harsh chemicals.
Shop thisFloyd's Love is educational. Our lessons, breed guides, and personalized assessments are for general information and preparation only — they are not a substitute for professional veterinary care or advice from a qualified veterinarian or animal behaviorist. Always consult your vet for medical concerns and a qualified professional for behavior issues.